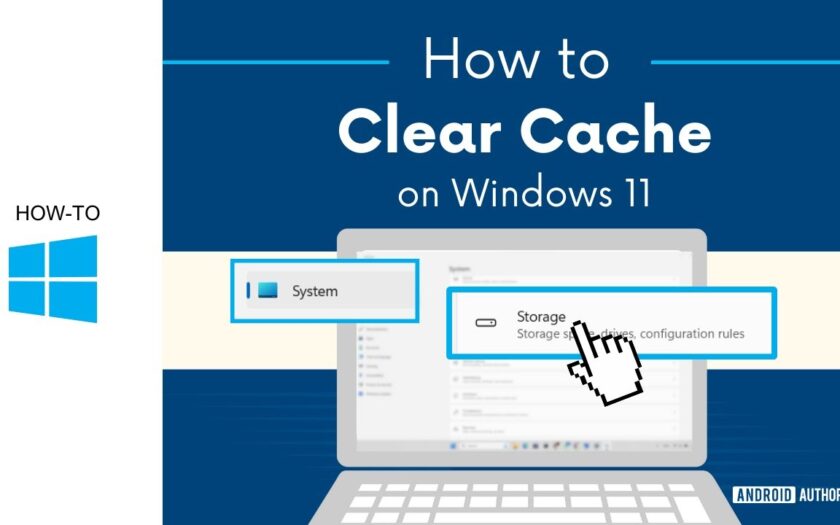
Clearing the cache in Windows 11 is a straightforward process that can enhance system performance and free up valuable disk space. Over time, various types of cache files accumulate, including temporary files, system caches, and browser data. Removing these files can help resolve issues and improve your computer’s responsiveness. This guide provides step-by-step instructions to clear different types of cache in Windows 11 using built-in tools, without the need for third-party applications.
- Clear Temporary Files via Settings
Windows 11 stores temporary files that can be safely deleted to free up space.
Steps:
- Press Windows + I to open Settings.
- Navigate to System > Storage.
- Click on Temporary files.
- Select the types of files you want to remove (e.g., Temporary files, Recycle Bin, Thumbnails).
- Click Remove files to delete the selected items.
Note: Be cautious when selecting the Downloads folder, as it may contain important files.
- Use Disk Cleanup Utility
The Disk Cleanup tool helps remove unnecessary files from your system.
Steps:
- Press Windows + S, type Disk Cleanup, and press Enter.
- Select the drive you want to clean (usually C:) and click OK.
- In the Disk Cleanup window, check the boxes for the file types you wish to delete (e.g., Temporary files, System created Windows Error Reporting, Thumbnails).
- Click OK, then confirm by clicking Delete Files.
Tip: For more options, click Clean up system files in the Disk Cleanup window.
- Enable and Configure Storage Sense
Storage Sense automates the process of deleting unnecessary files.
Steps:
- Open Settings (Windows + I).
- Go to System > Storage.
- Toggle on Storage Sense.
- Click on Storage Sense to configure its settings.
- Set preferences for deleting temporary files, emptying the Recycle Bin, and clearing the Downloads folder.
Note: You can also run Storage Sense immediately by clicking Run Storage Sense now.
- Clear Microsoft Store Cache
If you’re experiencing issues with the Microsoft Store, clearing its cache can help.
Steps:
- Press Windows + R to open the Run dialog.
- Type wsreset.exe and press Enter.
- A command prompt window will appear briefly, then the Microsoft Store will open.
Note: This process clears the Microsoft Store cache without deleting your installed apps or settings.
- Flush DNS Cache
Flushing the DNS cache can resolve internet connectivity issues.
Steps:
- Press Windows + S, type Command Prompt, right-click it, and select Run as administrator.
- In the Command Prompt window, type the following command and press Enter:
bash
CopyEdit
ipconfig /flushdns
- You should see a message confirming that the DNS Resolver Cache has been successfully flushed.
- Delete Temporary Files Manually
Manually deleting temporary files can free up additional space.
Steps:
- Press Windows + R to open the Run dialog.
- Type %temp% and press Enter.
- In the folder that opens, press Ctrl + A to select all files.
- Press Delete on your keyboard.
- If prompted, click Skip for any files that cannot be deleted.
Note: These are temporary files that are safe to delete. Some files may be in use and cannot be deleted; skipping them is fine.
- Clear Location History
Clearing location history can enhance privacy.
Steps:
- Open Settings (Windows + I).
- Navigate to Privacy & security > Location.
- Under Location history, click Clear.
Note: This action clears the location history stored on your device.
- Clear Browser Cache
Clearing your browser’s cache can resolve loading issues and free up space.
For Microsoft Edge:
- Open Edge.
- Press Ctrl + Shift + Delete.
- Choose the time range and select the types of data to clear (e.g., Cached images and files).
- Click Clear now.Lifewire
For Google Chrome:
- Open Chrome.
- Press Ctrl + Shift + Delete.
- Choose the time range and select the types of data to clear.
- Click Clear data.
Note: Clearing cookies will sign you out of most websites.
- Clear Windows Update Cache
Clearing the Windows Update cache can resolve update issues.
Steps:
- Press Windows + S, type Services, and press Enter.
- Scroll down and right-click on Windows Update, then select Stop.
- Navigate to C:\Windows\SoftwareDistribution\Download.
- Delete all files in the Download folder.
- Return to the Services window, right-click on Windows Update, and select Start.
Note: This process clears the update cache without affecting your installed updates.
- Clear Thumbnail Cache
Clearing the thumbnail cache can resolve issues with image previews.
Steps:
- Open File Explorer.
- Navigate to C:\Users\[YourUsername]\AppData\Local\Microsoft\Windows\Explorer.
- Delete all files that start with thumbcache.
- Restart your computer to rebuild the thumbnail cache.
Note: Replace [YourUsername] with your actual username.
Conclusion
Regularly clearing cache in Windows 11 can improve system performance and free up disk space. By following the steps outlined above, you can efficiently manage and delete various types of cache using built-in Windows tools. Remember to perform these actions periodically to maintain optimal system health.

