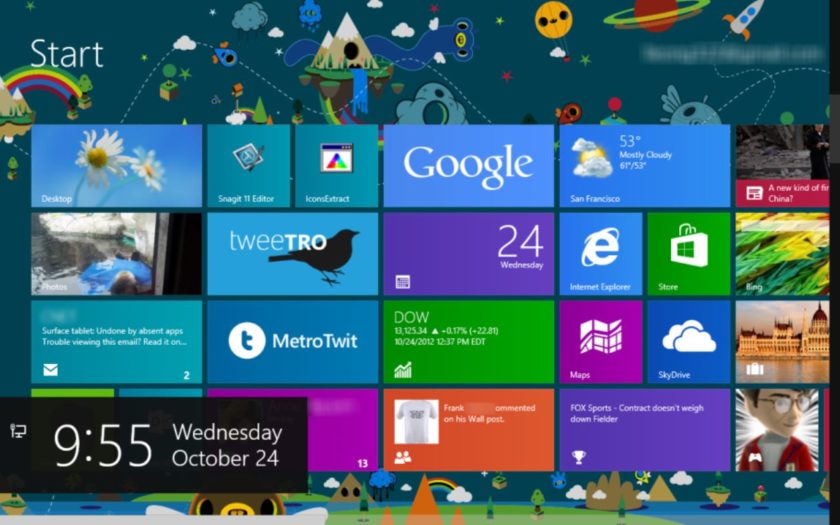
The Windows 8 Developer Preview showcases the latest and greatest Windows edition ever. The Windows 8 operating system brings in new features and a fresh look for Windows, which was honestly long overdue. Today we bring you a detailed guide which will take you through the necessary steps to install Windows 8 Developer Preview build on a virtual machine successfully.
The Windows 8 Developer Preview is out and people can easily download and install them on any computer hardware that has the minimum system requirements needed to run the Windows 8 Developer Preview operating system.
The Windows 8 Developer Preview, well, being the “Developer Preview” edition is mostly going to have some bugs and issues that will be fixed in the subsequent updates. If you want to experience what the Windows 8 Developer Preview feels like, then it is highly recommended that you install the Windows 8 Developer Preview build on a Virtual Machine, so that any bugs or issues found on the Windows 8 Developer Preview does not affect the data or performance of your main computer system.
Prerequisites:
Below are some prerequisites that you need to complete prior to attempting to install Windows 8 Preview Build on a Virtual Machine successfully.
- First of all, you need to download the Windows 8 Developer Preview build ISO file. You can download Windows 8 Developer Preview x32 (32-bit English) from here, Windows 8 Developer Preview x64 (64-bit English) from here, and Windows 8 Developer Preview with Developer Tools x64 (64-bit English) from here.
- Now you need to have a virtual machine software installed on your computer. There are many VM software available out there, however, in this guide, we will be using the VMware Virtual Machine software, which is one of the best virtual machine software for Windows. VMware Virtual Machine software is a paid tool, however, it comes with a free trial period of 30 days. You can download VMware Virtual Machine software for Windows from here.
How to Install Windows 8 Developer Preview Build on Virtual Machine Successfully?
Assuming that you completed the prerequisites mentioned above, here is how you can easily install Windows 8 Developer Preview Build on VMware Virtual Machine:
- Launch the VMware Virtual Machine software.
- Within the main window, click on the “File” button located in the top left corner.
- From the drop-down menu that appears, click on “New Virtual Machine”.
- A new window titled “Welcome to the New Virtual Machine Wizard” will now open.
- Do not change any settings, just click on the “Next” buttons.
- When the window titled “Select a Guest Operating System” appears, select “Microsoft Windows” from the list of options and then select the version of your Windows OS.
- Click on the “Next” button.
- Now, give a name for your Virtual Machine to identify it and provide the location where you wish to store the VM machine data.
- Specify the capacity of the VM disk. Provide a capacity of at least 20GB. Now, select the “Store virtual disk as a single file” option.
- Click on the “Next” option.
- Now, click on the “Finish” option.
- Back in the VMware window, select the name of the virtual machine that you provided in Step 8.
- Click on the “Power ON this Virtual Machine” option.
- If any popup window appears, just click on the “OK” button.
- Once the virtual machine starts running, click on the “VM” button present in the top menu of the VMware window.
- In the drop-down menu that appears, click on “Removable Devices”, and then click on “CD/DVD (IDE), and then click on “Settings”.
- Within the Settings menu, tick the option that says “Use ISO Image File”, and then click on the “Browse” button and then locate the ISO file of Windows 8 Developer Preview Build that is present on your computer.
- After selecting the ISO file, click on “OK”.
- Now, go back to the main VMware window where the Windows 8 Developer Preview Build is running. Press the “Ctrl” key + “R” key to reset the Windows VM machine.
- Wait for the reset to complete.
Now, the Windows 8 Developer Preview Build will work successfully on VMware Virtual Machine software.
Final Words
We hope you found this article on how to install Windows 8 Developer Preview Build on Virtual Machine successfully using VMware virtual machine software for Windows helpful. In case you are facing any issues while following the guide above, leave a comment below raising your query and we will surely help you out.

