
A screenshot can come in handy when you are trying to explain some of the settings or features or when you are trying to capture some information displayed on the screen as an image. If you are seeking out for ways to take a screenshot in Windows 10, then today we are here with some of the most efficient and easy ways to take screenshots in Windows 10 without facing any hassles.
How to take Screenshots in Windows 10?
There are several ways by which you can easily take screenshots in Windows 10. Today, we are here with different ways to take a screenshot in Windows 10 without having to actually download any other third-party software or tool.
1. How to take a screenshot in Windows 10 using PrtScr/Print Screen:
There are two ways following which you can take a screenshot using the Print Screen button that is available on your keyboard. The first method will let you take a screenshot of your current display for you to manually paste and edit the screenshot using some other software like Paint on Windows. The second method will automatically take a screenshot of your current display and save it to the screenshots folder of your Windows PC.
The Print Screen button is usually placed in the first row of the keyboard, alongside the Function keys after the F12 key. The Print Screen key can be denoted on your keyboard by a variety of labels such as “PrntScrn”, “Prt Scr”, “Prt Scn” and so on.
- To just take a screenshot of your current display so as to use it manually elsewhere, you need to press the “Windows Key+Print Screen key” on the keyboard for taking a screenshot for certain PC and tablet models. Whereas, on certain other PC and laptop models, you will need to press the “Fn key+Print Screen key” or “Fn key+Windows key+Print Screen key” in order to capture a screenshot.
- To automatically take a screenshot of the current display of your Windows PC and then save it to the Screenshots folder of your Windows PC, you will need to use either of the following shortcuts:
(a) Windows key + Print Screen key.
(b) Windows key + Volume Down key. (Specifically for tablets running Windows OS)
(c) Windows key+Ctrl key+Print Screen key.
(d) Windows key+Fn key+Print Screen key.
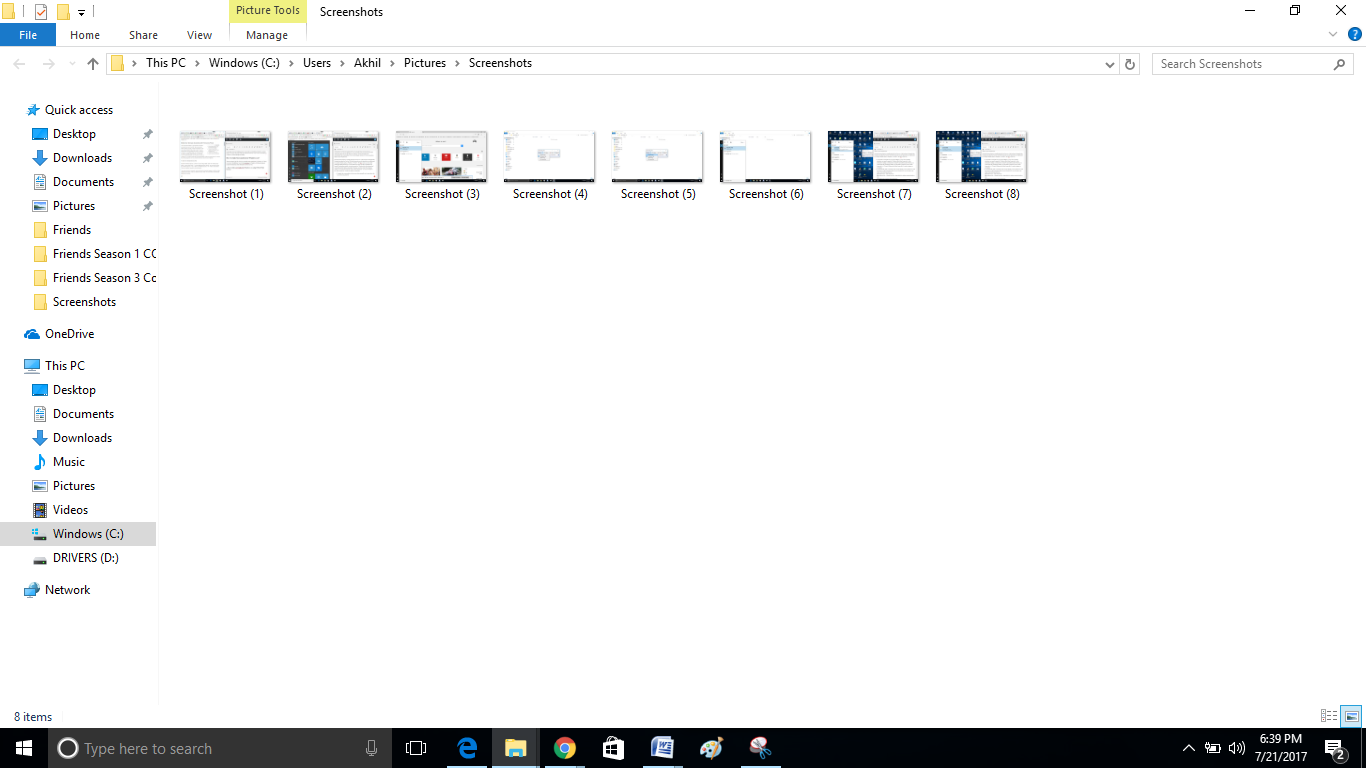
Check out for the shortcut to automatically capture and save screenshots in Windows 10 from the shortcuts mentioned above that work on your PC. Once any of the above shortcuts works, your screen will dim for a few seconds indicating that a screenshot has been taken. You can later view the saved screenshots in Windows 10 by accessing the Screenshots folder in your PC.
2. How to take Screenshots in Windows 10 using the Snipping tool:
There is a Snipping Tool in the Windows operating system from when Windows Vista was launched. The Snipping Tool in Windows 10 lets you capture screenshots.
Here is how to launch the Snipping Tool in Windows 10:
- Click on the Search Bar located in the left bottom corner of your Windows 10 desktop.
- Search for “Snipping Tool” and then launch the Snipping Tool desktop app that appears in the search results.
After launching the Snipping tool, you will be shown with a small window as the one in the center of the image below.

Click on the “New” option to capture a new screenshot. A rectangular area can be selected to capture as screenshots. If you are in need of a free-form area as screenshot instead of a rectangle, that can also be done using the Snipping tool. Moreover, in Windows 10, you can also add a delay to the Snipping tool so as to capture popup menu and other items.
After taking the screenshot using the Snipping tool in Windows 10, the image is automatically opened in the Snipping tool window where you can do some edits or save the screenshots you just captured using the Snipping tool wherever you wish to.
Final Words:
If you have any doubts on the above-written article on how to take a screenshot in Windows 10 or do you have a simpler way to take screenshots in Windows 10? Then do mention them as comments below.