
From the Windows 8 version onwards, Microsoft has given special attention to make sure that the operating system functions are easy to operate on touchscreen devices as well.
Even though desktop users do not prefer these touch-friendly features and customizations, the addition of these features has indeed made using the Windows OS on a touchscreen device very efficient and easy.
With the latest Windows 10 operating system, Microsoft has included even more touch-friendly features and improved on existing features in order to promote usage of touchscreen devices powered by the Windows 10 OS. One such improved feature is the on-screen keyboard.
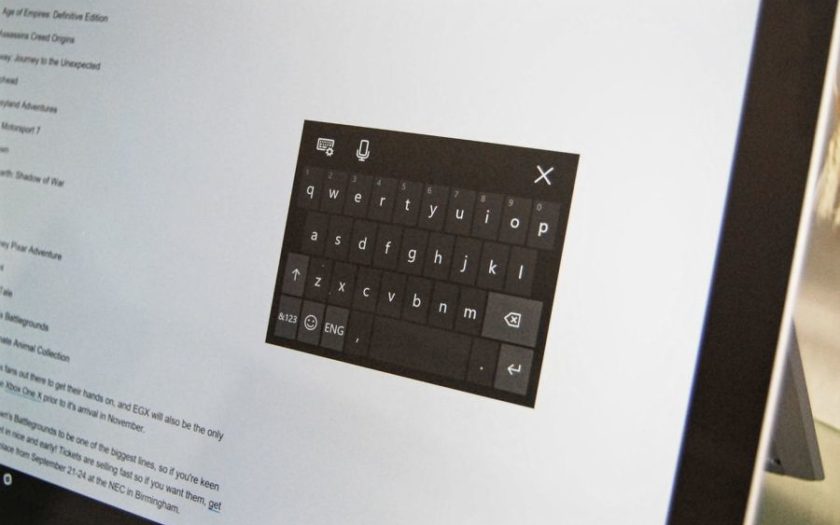
The on-screen keyboard has been available in Windows for quite a while now. However, with Windows 10, there are now four different on-screen keyboard styles to choose from. Out of all the four styles, the touch keyboard and thumb keyboard are two of the popular on-screen keyboard styles.
If you have a touchscreen device powered by the Windows operating system, then today we bring you a detailed guide on how to enable touch keyboard and thumb keyboard in Windows 10 operating system so that you can start using the touch-friendly keyboard in Windows 10.
How to Enable Touch Keyboard in Windows 10?
Here is how you can enable touch keyboard efficiently in Windows 10:
- Press the “Windows” key + “R” key to bring up the “Run” window.
- Within the Run window, type the command “tabtip” (without quotes) and press the Enter key.
The Windows 10 touch keyboard should now be launched.
Alternatively, you can follow the below steps in order to activate touch keyboard in Windows 10:
- Press the “Windows” key and “I” key together to launch the “Settings” window.
- Within the Settings window, click on “Devices”, and then click on “Typing” from the left-hand side of the window.
- Navigate through the options present under Typing and enable the touch keyboard feature.
The Windows 10 touch keyboard should now be displayed on the screen.
How to Enable Thumb Keyboard in Windows 10?
Below are the simple steps you need to follow in order to enable thumb keyboard in the Windows 10 operating system.
- In order to enable thumb keyboard, first launch the touch keyboard by following the above guide.
- When the touch keyboard appears on the display, click the icon with the “keyboard” logo in the bottom right corner of the touch keyboard.
- Now you will get to choose from 4 different keyboard styles. Pick the second style from the left in order to activate thumb keyboard.
And now you have successfully enabled thumb keyboard in Windows 10. You can change between the different on-screen keyboard styles anytime you want by following these steps.
Final Words
In the above article, we tried to explain how to enable touch keyboard and how to enable thumb keyboard in Windows 10 in the easiest way possible. We hope that you found the above guide easy to follow and interesting.
In case you have any doubts regarding the touch keyboard and thumb keyboard on Windows 10, then do feel free to ask your questions by mentioning them as comments below.