
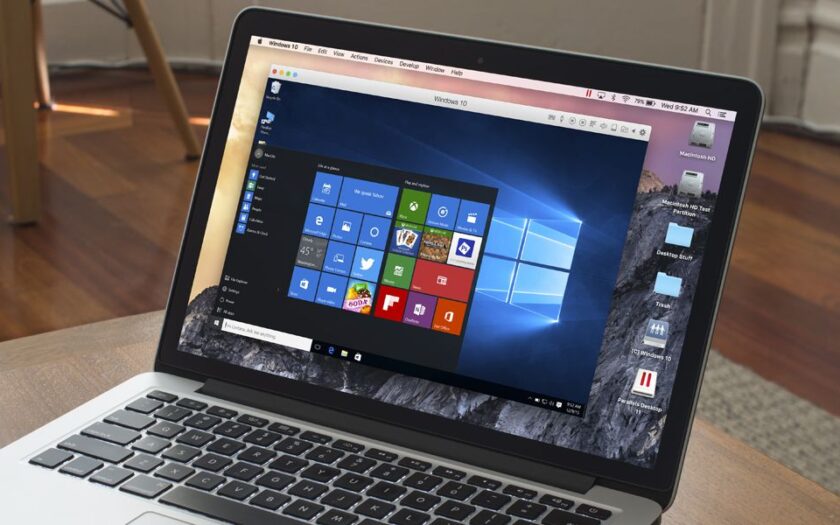
Are you looking for ways on how to install Windows 10 on Mac? Windows and Mac are two of the best desktop operating systems out there. Most people prefer to use either Windows and Mac for their professional and personal use.
Even though people do have their preferences for Windows or Mac, some users will love to use both operating systems on the same machine without having to buy separate machines to run both OS.
If you’re trying to run the Windows operating system on a Mac machine, then today, we bring you a detailed guide that takes you through the steps required to install Windows 10 on Mac easily.
Which Mac Devices Support Installing Windows 10?
Before proceeding with installing Windows 10 on Mac, make sure that you have an Apple laptop or computer that supports the procedure.
Below is the list of Mac devices that supports installing Windows 10.
- Apple MacBook Pro (2012 or any model after)
- Apple MacBook (2015 model or later)
- Apple MacBook Air (2012 or any later model)
- Apple Mac Pro (2013 or above)
- Apple iMac (models starting from the Year 2012)
- Apple iMac Pro (2012 and above)
- Apple Mac Mini (From the year 2012 or above)
- Apple Mac Mini Server (2012 Model)
Prerequisites to Install Windows on Mac in 2021
Below are some prerequisites that you should be aware of/complete before attempting to install Windows OS on your supported Mac computer or laptop.
- Your Mac machine should have at least 64 Gigabytes of free storage space available.
- You need to download the Microsoft Windows 10 ISO file. You can download the file from the official Microsoft Windows 10 ISO page by clicking here.
How to Install Windows 10 on Mac Computers and Laptops?
Now that you know about the necessary information, below we have detailed the steps involved in installing Windows 10 OS on your Mac computer.
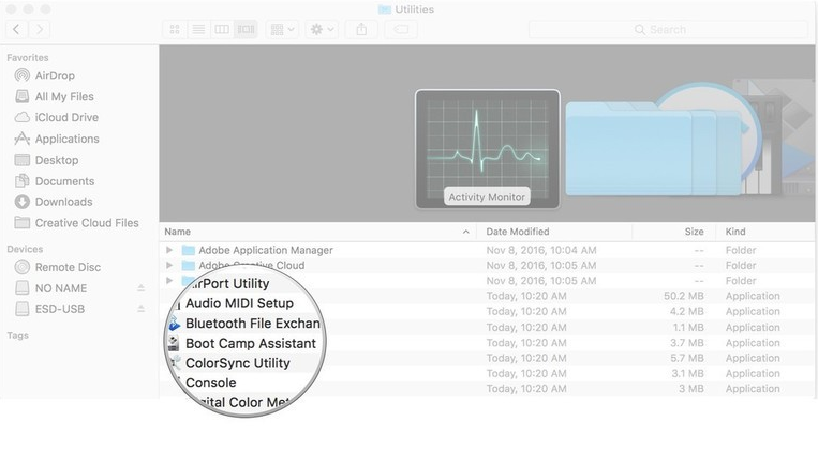
- On your Mac machine, click on “Utilities” under “Applications”.
- Within the “Utilities” folder, find the “Boot Camp Assistant” tool and click on it to launch the application.

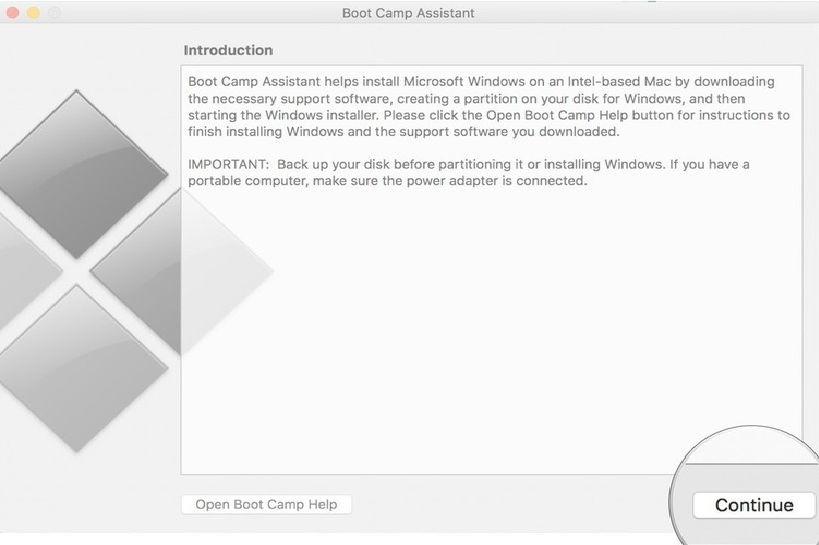
- When the “Boot Camp Assistant” window launches, click on “Continue” on the first screen.
- The software will auto-detect the Windows 10 ISO file that is present on your computer.

- Click on the “Continue” button located in the bottom right corner of the window.
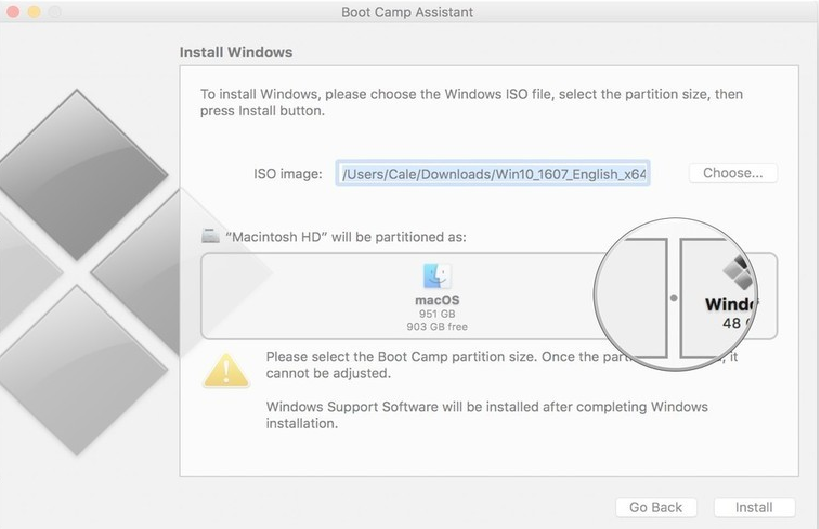
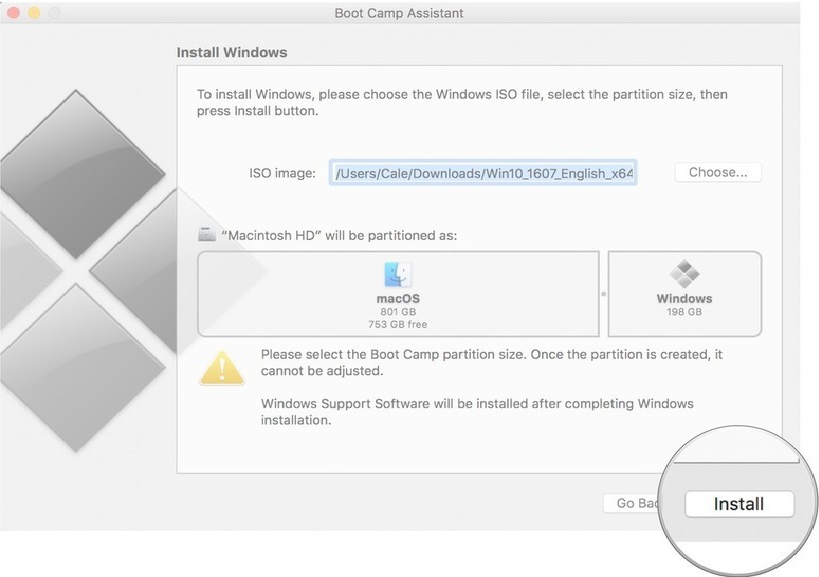
- You will now see the depiction of disk partition divided for the Mac OS and Windows OS on your machine once the Windows 10 OS installs. By default, Boot Camp will allocate 48 GB of space to Windows 10 installation. Even though you can increase/decrease the allocation, it is recommended that you keep at least 48GB of storage space for Windows installation.

- Now, click on the “Install” button in the bottom right corner.

- Type the password for your Mac account if prompted.
- Your machine will now reboot.
- The Windows installation process will begin.
- During the installation process, select your preferred language, and you need to enter a product key for Windows 10 activation. If you don’t have a product key, don’t worry, as Windows 10 will still get installed, and you can use it, albeit without some not-so-useful features.
- You also have to pick the Windows 10 version to install on your machine. You can select between “Windows 10 Home” and “Windows 10 Pro” depending on your requirement.
- On the next screen, click on the “Custom: Install Windows Only” option.
- Now, you need to select the “Drive 0 Partition X: BOOTCAMP” option. Make sure you don’t pick any other option, else the installation won’t complete.
- The installation will now begin. Your machine will restart several times in the process. Wait for the installation to complete.
And that’s all. Once the installation completes, you can proceed with the setup of your Windows account.
When the Windows OS loads up for the first time after installation, you will be prompted to install the Boot Camp software on your Windows partition as well.
Make sure you install Boot Camp, as it allows you to switch between Mac and Windows. Boot Camp also installs several software and drivers that ensure smooth working of Windows 10 on your Mac.
How to Switch Between Windows OS and Mac OS?
Here is how to switch from Windows to Mac OS on your machine:
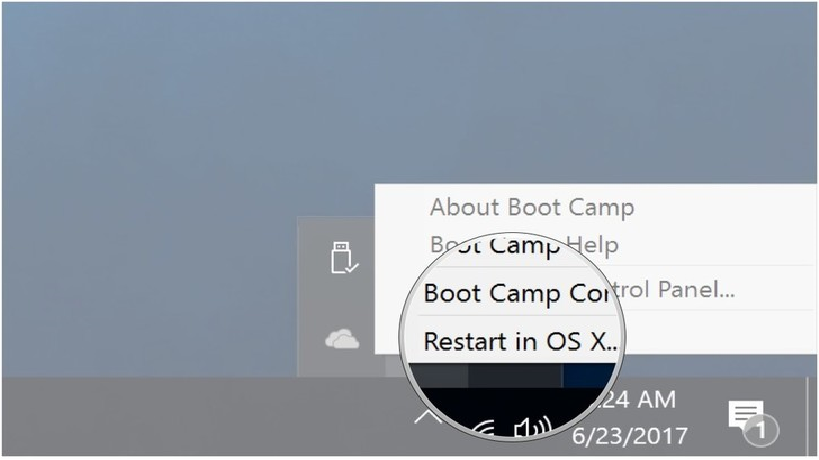
- On the right corner of your Windows taskbar, click on the arrow button to reveal the hidden options.
- From the revealed options, right-mouse-click on the “Boot Camp” icon.
- A pop-up window will now appear. From the list of options, click on “Restart in [OS X]”. (Whatever Mac version is running on your machine will appear instead of [OS X]).
And that is it. Boot Camp will now restart your machine in Mac OS.
If you wish to switch from Mac to Windows, below are the steps:
- Restart your Mac machine.
- During restart, click and hold the “Option” key on your keyboard.
- A boot menu will appear.
- Within the boot menu, select the OS that you wish to boot.
That’s all.
Final Words
We hope you found this article on how to install Windows on Mac OS informative and helpful.
In case you wish to add any points that we missed or want to ask any questions, please leave them as comments below.